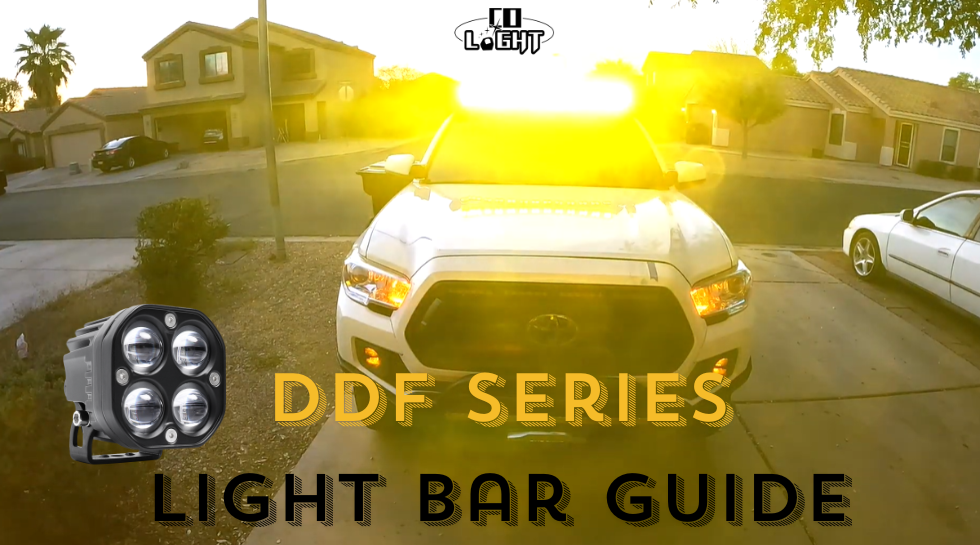
COLIGHT 3inch DDF Series Dual Color Dual Beam Square Fog Light Pods are no strangers to many. Many people choose to install them in the ditch lights or bumper positions, which are excellent installation locations.
Whether you are traversing rugged mountains or enjoying the tranquility of a lakeside, equipping your vehicle with high-performance LED off-road lights is essential. Many people opt for off-road light bars to achieve powerful illumination.
For those adventurous souls who love customization, they prefer to create their own modifications.
@suits_to_sunsets is one such creative adventurer who assembled 12 DDF Series lights into a light bar and installed it on the luggage rack. When we first saw this light bar, we were highly impressed with his modification skills.
In this article, we will delve into how he wired and installed the light bar. We hope to provide some good ideas for adventurers interested in this modification. Special thanks to @suits_to_sunsets for providing off-road lighting installation advice. Those who are interested can follow his youtube - AZ Backroad Adventures
Motivation
He saw that his friend had installed COLIGHT Rob2 pro series lights on his truck, and our lights left a deep impression on him. As a result, he decided to abandon the original light bar on his car and switch to a light bar composed of 12 independent pods.
Installation
This light bar is controlled by three wiring harnesses. The left three and right three lights are each controlled by a separate wiring harness. The middle six lights are controlled by one wiring harness, allowing all of them to be turned on or none at all.
Required Tools:- Screwdriver: Used to open and secure the car lights.
- Wire Strippers: Used to remove insulation from wires.
- Wire Connectors: Used to connect wires.
- Insulating Tape or Heat Shrink Tubing: Used to wrap connection points, ensuring insulation and waterproofing.
- Wire: Choose appropriate wire length and gauge according to requirements.
- Switch and Switch Bracket (if necessary): Controls the switch for the car lights.
- Place the 12 lights neatly on a table and connect the wires of the lights that need to be controlled simultaneously by color (black, red, yellow), forming three main control lines.
- Connect the control harness to the wires of the lights. Wired it with 3 outside on each side on the yellow circuit separately, then the center 6 on another, then all 12 white together.
- Strengthen the connection points with insulating tape or heat shrink tubing to enhance waterproofing.
- Finally, neatly wrap the connected wires around the roof rack.
Testing:
After complete installation, reconnect the vehicle power and test the car lights. Ensure they work properly and are securely installed.
Note:the control wire harness should be selected appropriately for the wattage of the connected lights.
Light Show
Conclusion
If you are an off-road enthusiast and passionate about vehicle modification, the above blog content should be inspiring for you. COLIGHT DDF series lights offer great value, with the White beam enhancing off-road illumination; the yellow beam allows you to see clearly on the road in adverse weather conditions such as rain, fog, or snow, improving off-road driving safety at night.
We are delighted to see @suits_to_sunsets successfully complete this installation, showcasing more possibilities for the DDF series. COLIGHT has many other series waiting for off-road enthusiasts to explore, so stay tuned for more.


