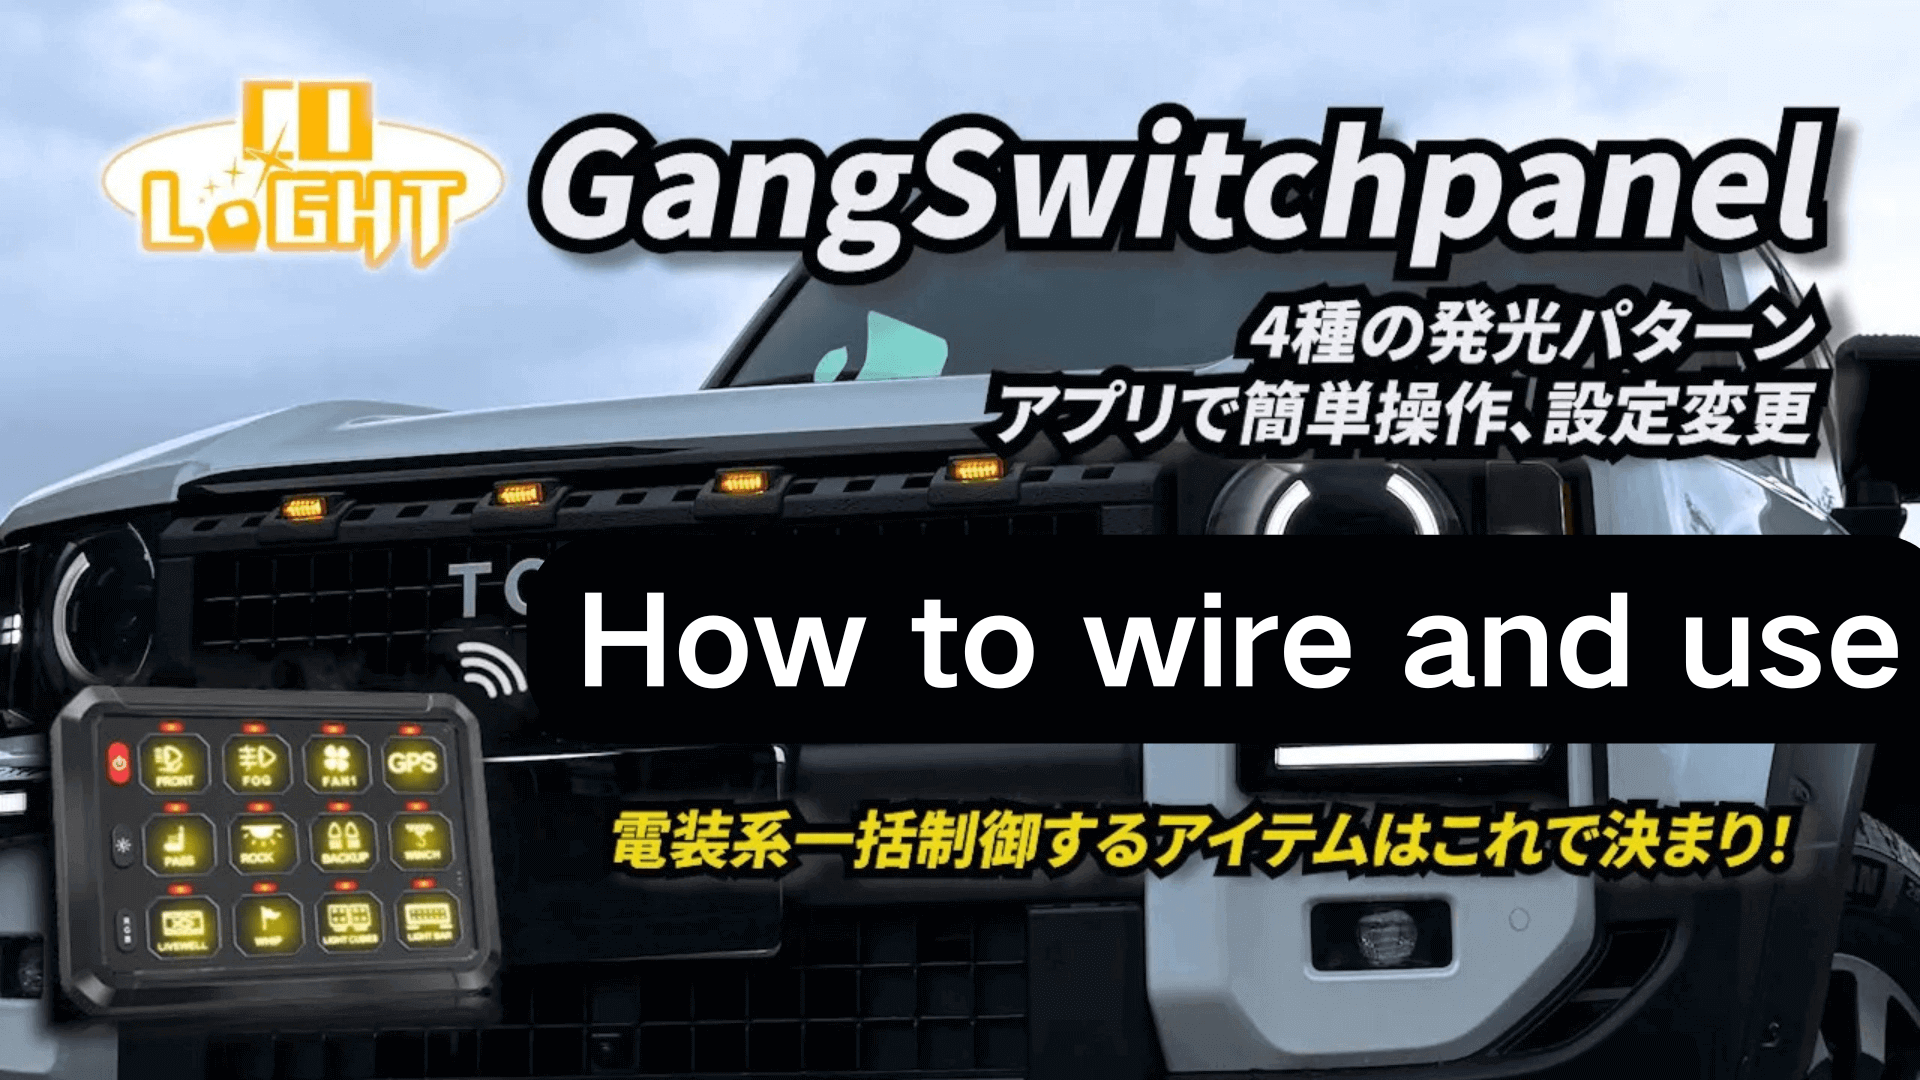
Switch panels have become increasingly popular in the off-road customization world. With countless types and configurations on the market, it’s easy to get overwhelmed—or worse, end up with a setup that causes wiring headaches or functional issues.
If you've ever wondered how to choose the right panel for your build, you're in the right place.
In this guide, we’ve partnered with ケイチャンネル KEIChannel—a well-known off-road customization expert and avid sea angler with over 7.5K YouTube followers—to walk you through how to install and make the most of the Colight 12 Gang RGB Switch Panel. This model features both APP and ACC wiring support, allowing you to fully control your vehicle’s lighting through your smartphone. Let's dive into the installation and explore its full capabilities!
📦 What's in the box?
The package includes a switch panel, fuse box, relay box, wiring harness, user manual, a set of label stickers, 2 mounting brackets and 3X wires, cable ties, and screws. Everything you need to get started is included - yes, there's also a detailed installation instruction manual for your reference during the installation process.
🔧 Installation and Wiring Guide
Customized Installation Solution
In order to avoid drilling holes in the vehicle's original fuse box, KEIChannel DIY customized an iron mounting plate. The relay box and fuse are firmly fixed to this mounting plate with screws, and then it is installed above the vehicle's existing fuse box. This method is both stable and non-destructive.
(The easiest way to install is to drill a hole and install it above the car fuse box, which is suitable for situations where it is impossible/difficult to make an auxiliary iron plate)
Wiring Steps
-
Connect the main cables from the relay box to the car battery.
2. Follow the included wiring diagram to connect the fuse box and relay unit correctly.
3. Connect the switch panel's power and control wires to the relay box.
4. Route the wires neatly across the engine bay and secure them to prevent clutter or damage.
5. The red ACC wire is connected to the ACC integrated system (under the cab). When started, it can automatically connect to the power to avoid battery energy consumption and power loss.
6. Once everything is connected, tidy up the wiring, install the outer casing, and double-check all connections.
7.Mount the switch panel on the lower right section of the dashboard using strong adhesive—no need to drill holes or damage your interior trim.
✅ Tip: KEIChannel also released a dedicated video on customizing the front bumper grill for mounting lights—check it out if you're into full DIY setups!
Key Features Overview
RGB Backlight & Button Control
The panel supports multi-color backlighting, allowing you to fully personalize the look with RGB controls:
-
Long press to enter flash mode and cycle through color options.
-
Each button color serves a purpose:
-
🔴 Red: Constant light
-
🔵 Blue: Momentary light
-
🟣 Purple: Flashing mode
-
🟢 Green: Strobe (high-frequency flashing)
-
Four Control Modes
You can switch modes easily using the physical panel or the mobile app. Great for different use cases—road driving, off-roading, emergencies, or night work.
📱 APP Personalization
Download the companion app as per the manual instructions:
-
Tap "Search Device" > "Connect"
-
Instantly gain control over the switch panel through a visual touchscreen interface
-
Scroll through a color wheel to change lighting hues in real time
-
Customize brightness and strobe frequency with intuitive sliders
-
Each key supports customizable flash sequences and control modes
Fully Customizable Buttons
Want to make it your own? The switch panel allows full DIY customization:
-
Use built-in icons or upload your own images from your phone’s album
-
Rename each switch in multiple languages
-
Easily reset back to the original factory icons if needed
This means you can create a dashboard that fits your specific lighting setup: light bars, ditch lights, A-pillar lights, bumper lights—you name it!
🎁 Special Offer – KEIChannel Exclusive
As a thank you for joining us on this how-to guide, don’t forget to use the exclusive 15% off discount code: KEI15 when ordering your Colight switch panel.


