
Most people know that it's time to change the bulb when they've burned out. We usually recommend replacing the two bulbs regularly to keep the light pattern consistent. When one headlight bulb fails, the other usually isn’t far behind. So how to replace headlights on your vehicle?
Whether you are a seasoned pro and beginner DIYer, it is very useful to know how to install LED headlights and when to replace them. And the steps to replace headlights aren't complex. Of course, you need to know is which type is in your vehicle. Usually, modern car headlights are made up of light bulbs, reflectors, and lenses. The headlight bulbs are replaceable bulbs that can be twisted out.
Prepare these tools before installation.
1. A pair of new light bulbs. Make sure the bulb is compatible with your vehicle. If you don't know if they match with your make and model, you can contact us or go to your local auto parts store.
2. Alcohol wipes and tissues, use to clean and hold the new bulbs.
3. Pliers or a screwdriver.
Turned off your vehicle and parked in an area that is convenient for work, now let's begin. Please check the step below.
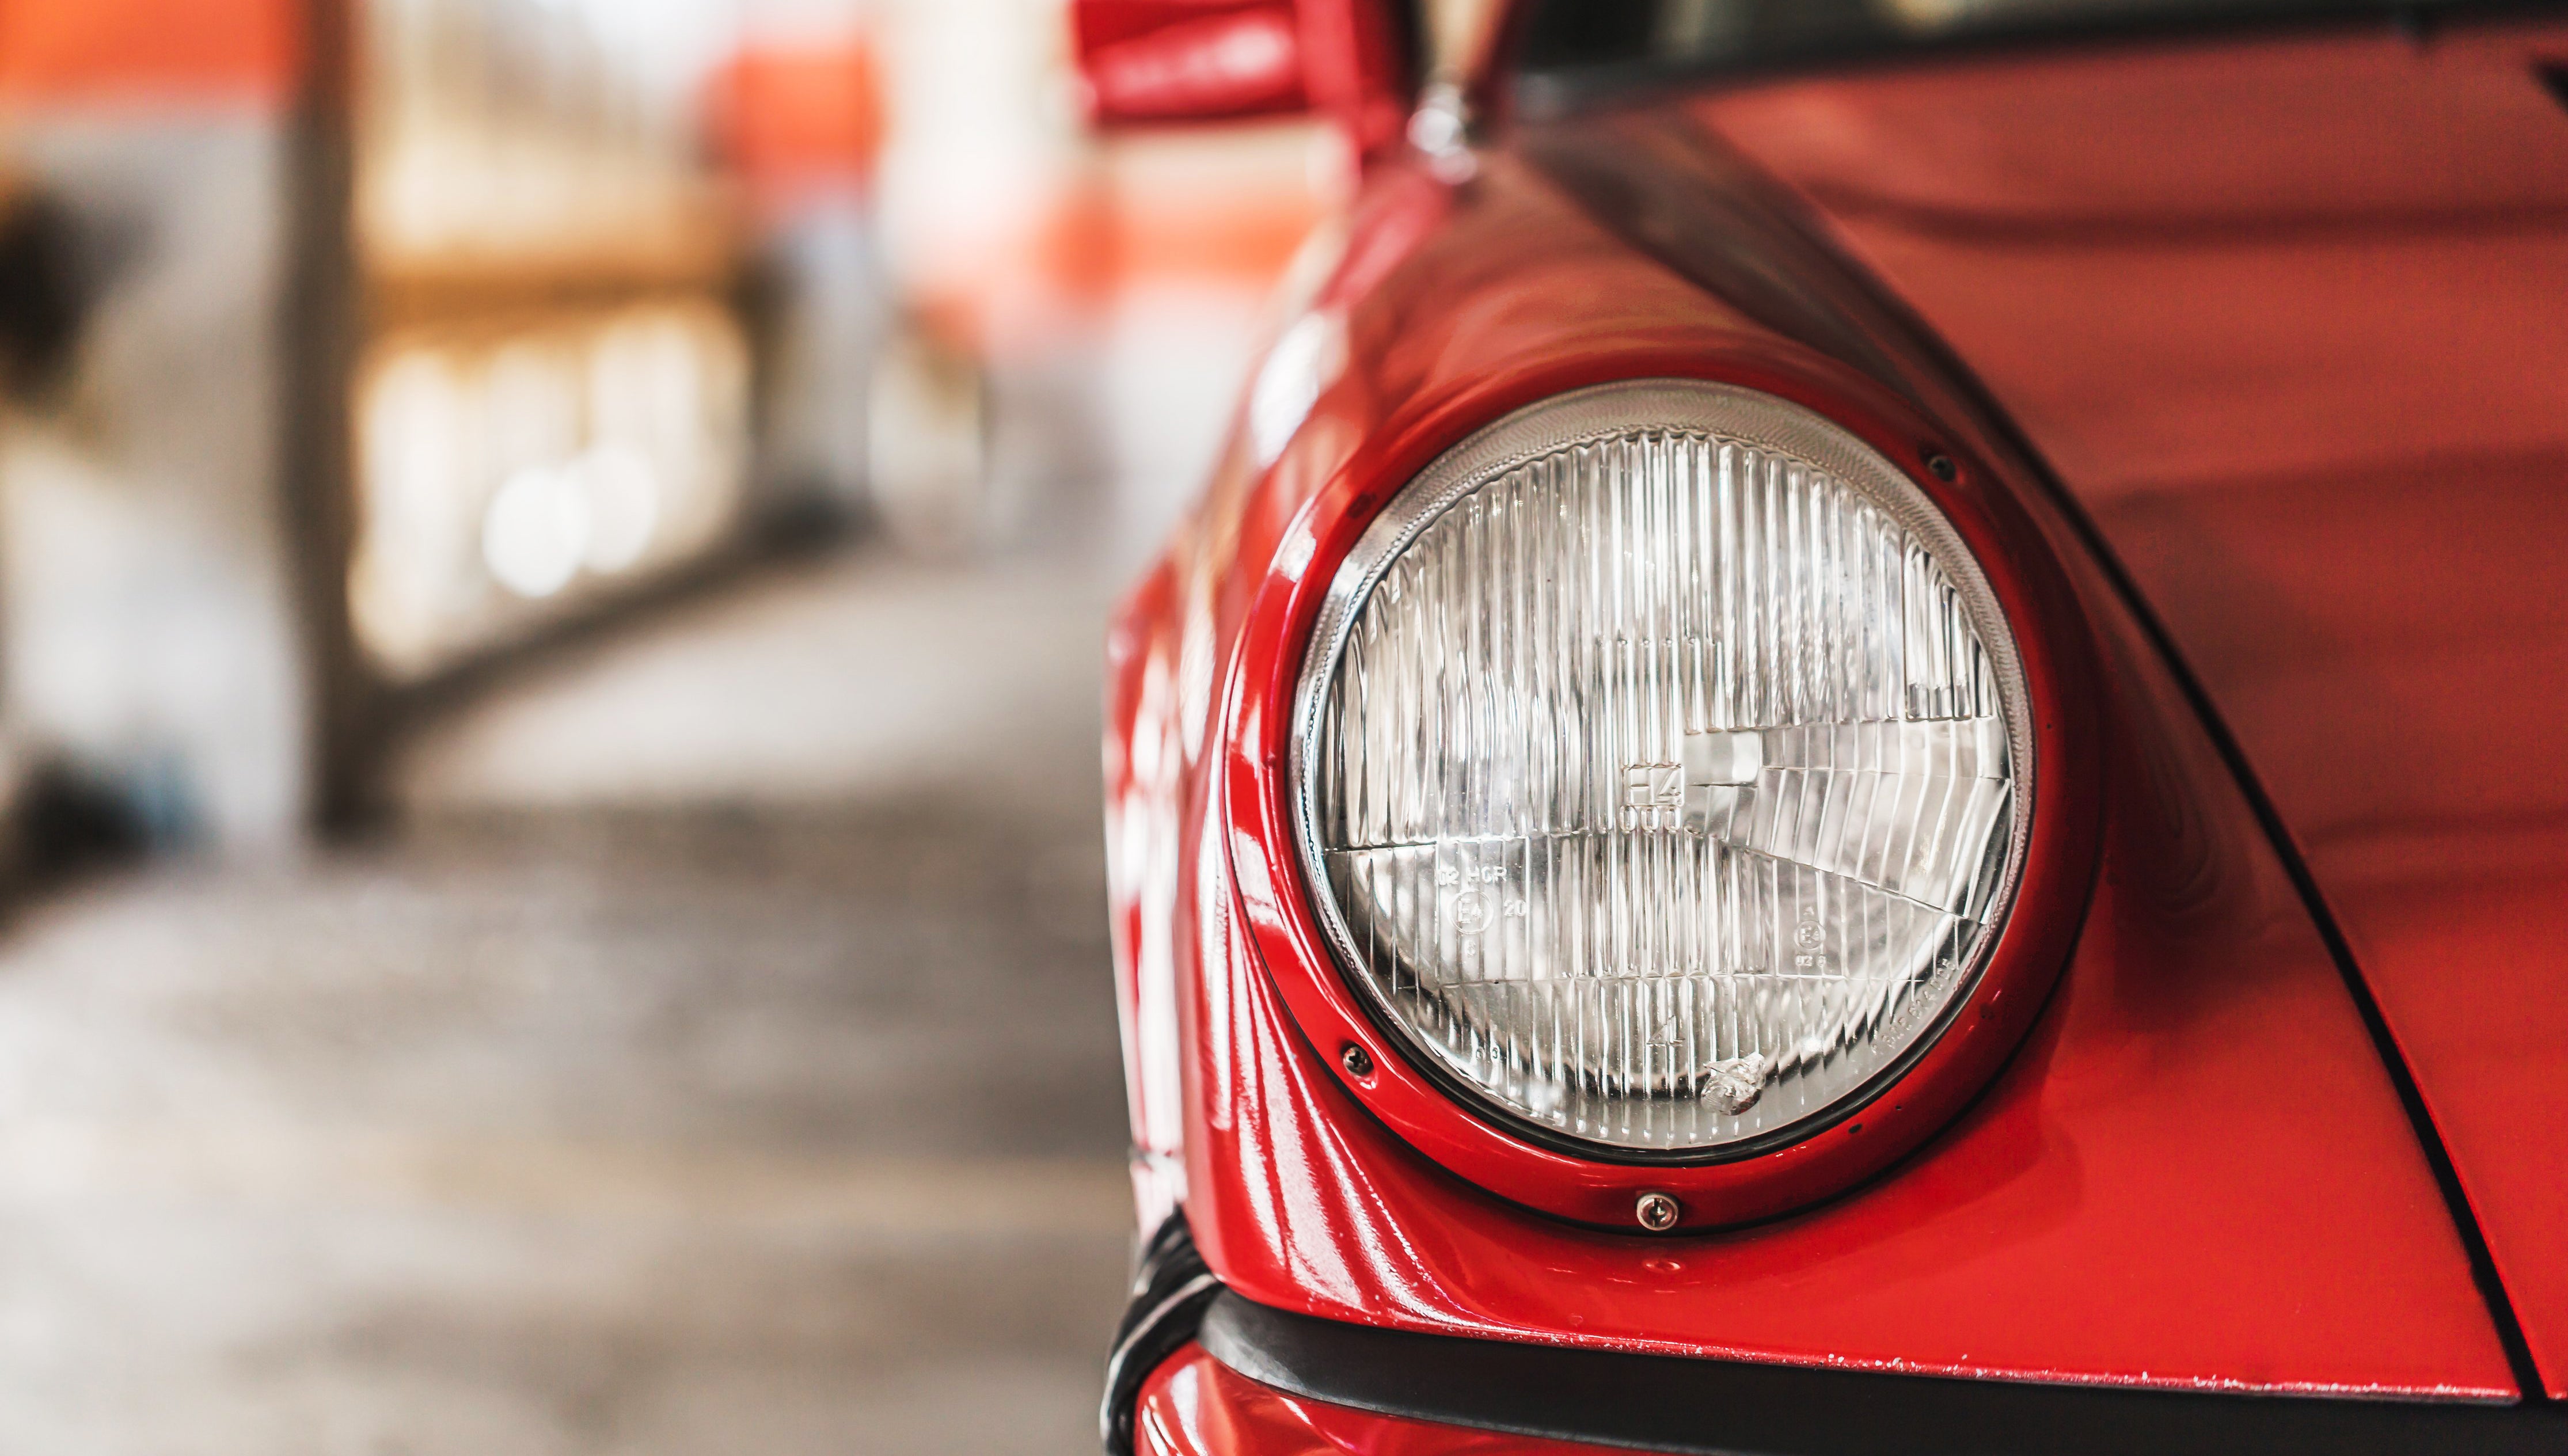
Step 1, Locate the headlight holder
Open the hood and look for the headlight near the front of the vehicle. Once you find it, you will located the bulb holder. What exactly does it look like? In practically all cars, it has a total of three wires which come out of a plug. This plug happens to be shaped like a trapezoid.
Step 2, Take out the power wires
As you can see, the three wires are connected to the plug at the base of the headlight. According to the different vehicles, the main connecting tissue holding the plug can be a plastic cap, a metal clip or a screw cap. How to take out the harness depends entirely on the harness you are working on. For the metal clip, you should simply pull up and away. Make sure the plug to come off right into your hand. For the plastic cap, find the small lever protruding at the top of the plug, press it down while pulling the plug out. For the nut, turn it counter-clockwise to unscrew it.
Step 3, Take out the old bulb
Once the wires have been disconnected, the old bulbs can be removed. Now, rotating the bulb slightly, the bulb can be easily pulled out simply by holding the base. Be sure to be careful not to apply too much force when doing this.
Step 4, Clean and replace the new bulb
Please handle the new bulb with the wipes and tissues. If you deal with bare hands, it will burn out the moment the headlight is turned on due to the oils on your skin. Based on this, arm yourself before you take it out of the package, then clean it with an alcohol wipe. After that, hold the end of the bulb and place it inside the rear of the headlight. Check the bulb's rubber gasket, if it's not showing, the installation is complete.
Step 5, Test the new light
Almost everything is done except checking whether it works. Plug the power wires back in, fit everything back in place, then turn on the headlight to see if you were successful. Usually, you follow the steps above and make sure that the power wires is connected, there will be no problems.
That's is all. It is really a simple process, just remember these: Locate the headlight holder→ Take out the power wires→ Take out the old bulb→ Clean and replace the new bulb→ Test the new light. No need to spend the money on a mechanic.